How to sync Linc calendar with iCloud
💡 The calendar subscription only includes upcoming and completed sessions for the last 3 months. Event updates might take a few minutes to reflect on your calendar's application.
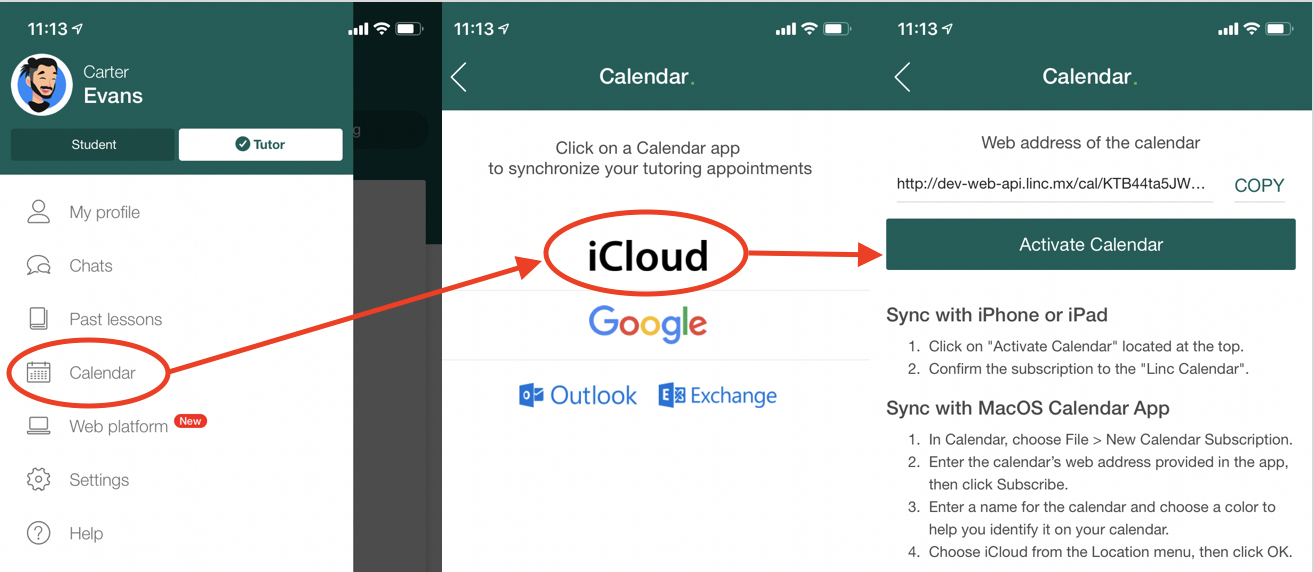
- Open the Linc app and log in to your account.
- Go to the main menu > Calendar.
- Select iCloud.
- Click on "Activate Calendar".
- Authorize the calendar sync when prompted.
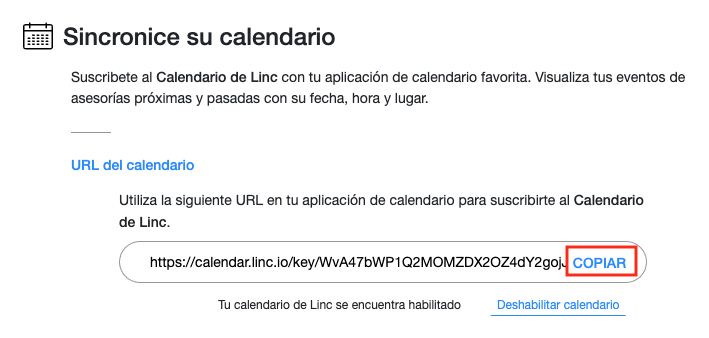
- Sign in to Linc's web application.
- Go to the main menu Sessions > Calendar.
- Copy your calendar URL.
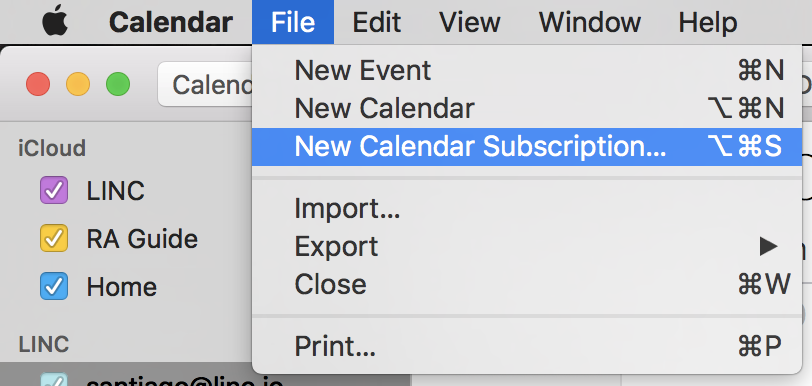
- Open the calendar app on your Mac.
- Select File > New Calendar Subscription.
- Paste the URL given by the Linc app and click "Subscribe".
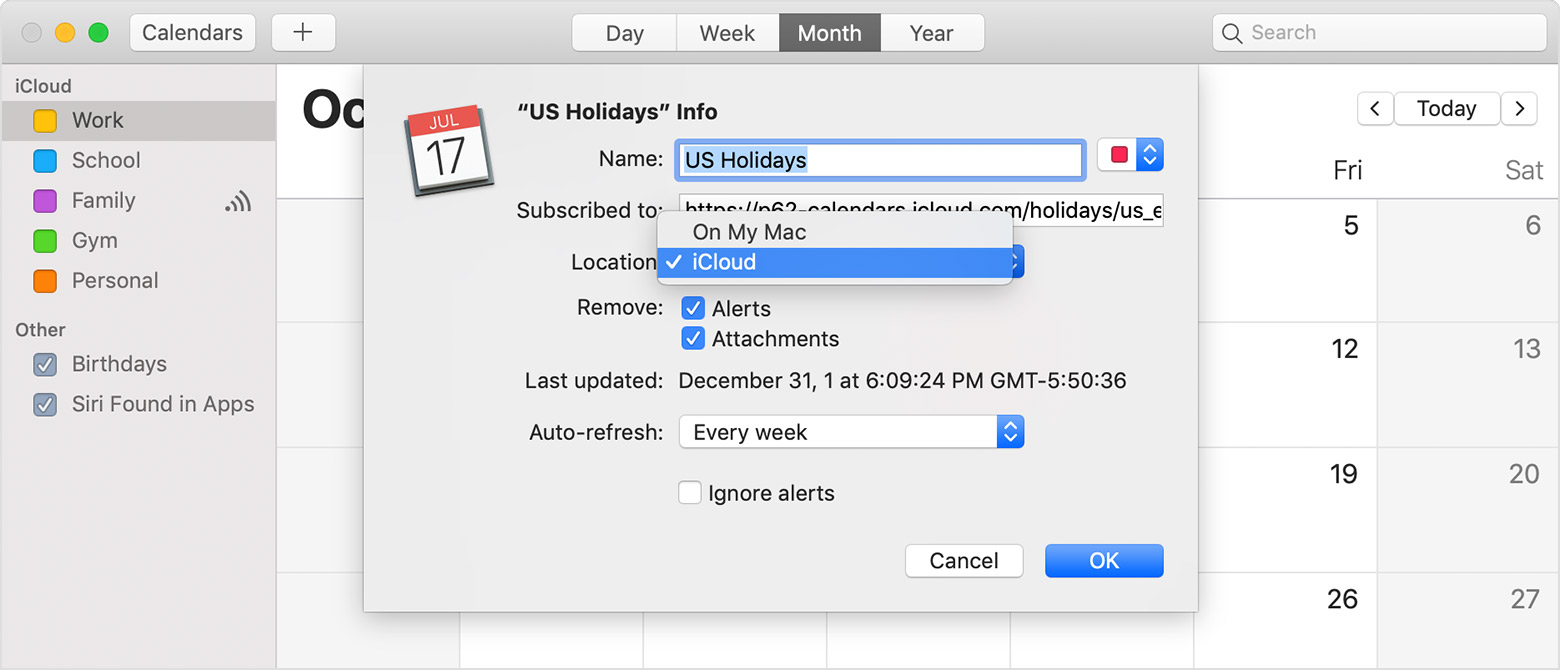
- Type in the name for the calendar and choose a color to help you recognize it.
- Under "Location" option select "iCloud".
- Under the "Auto-refresh" option select "Every 5 minutes".
- Select iCloud on location and click OK.